

EN
.png)

Professionals
.png)
B/S Spange Quick
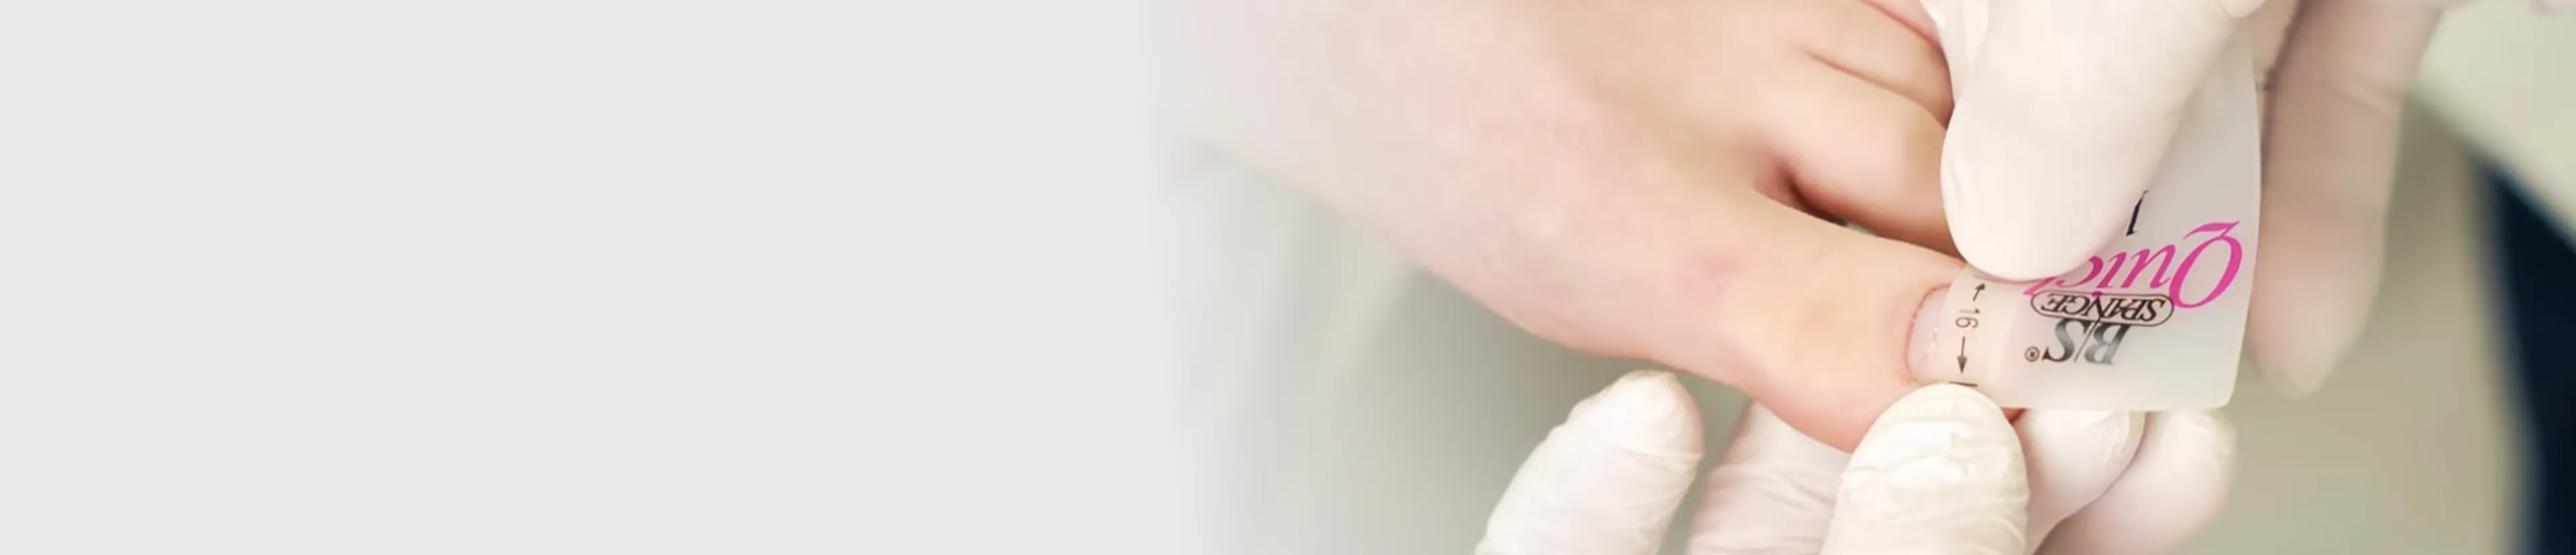
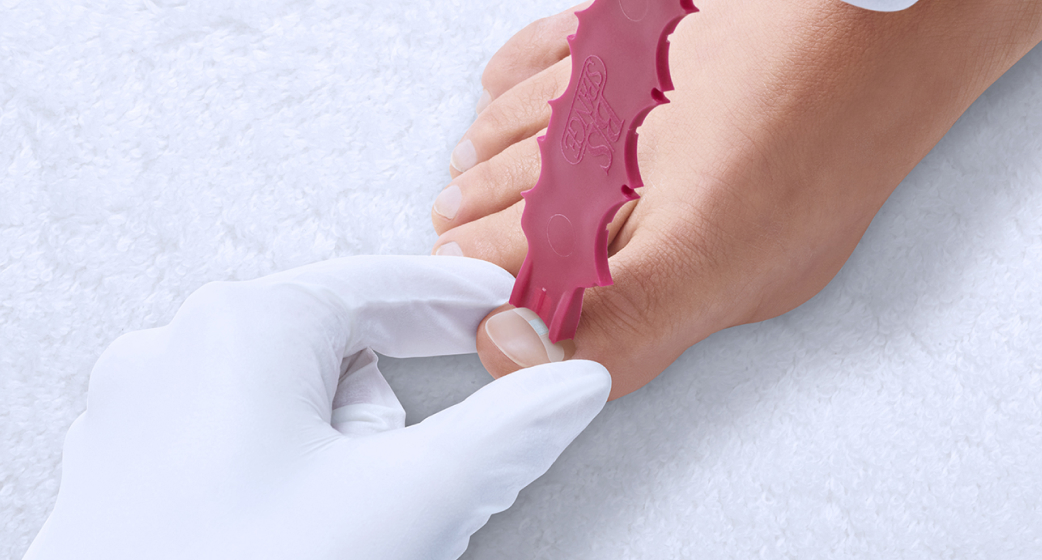
The B/S Spange Quick is pre-placed on a carrier that serves as an applicator, allowing it to be easily applied to the nail with the fingers.
.png)
B/S Spange
The B/S Spange is an ultra-flat, self-activating nail correction brace made of fiberglass-reinforced thermoset – developed in Germany, successfully applied in practices and studios worldwide.
All B/S Spange - Classic, Magnet, Magnet+ and Quick - are based on the same high-quality base material.
The only difference is in the Type of Application:
All B/S Spange - Classic, Magnet, Magnet+ and Quick - are based on the same high-quality base material.
The only difference is in the Type of Application:
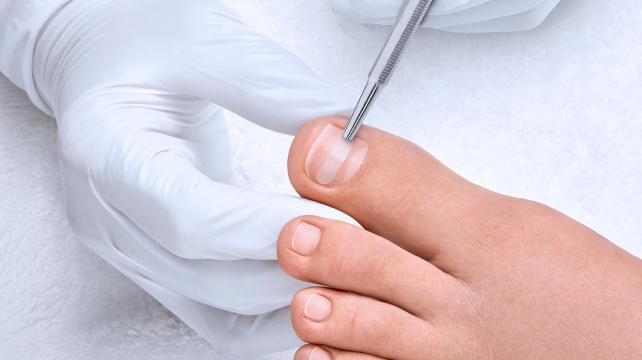
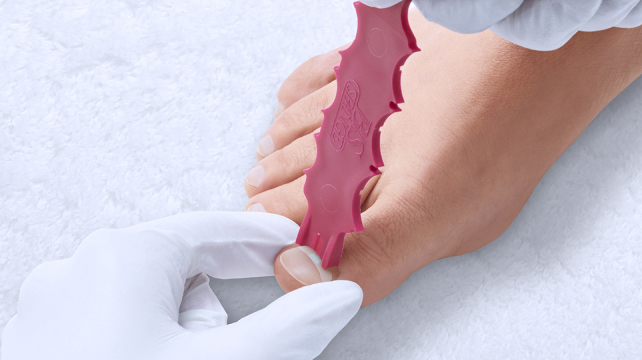
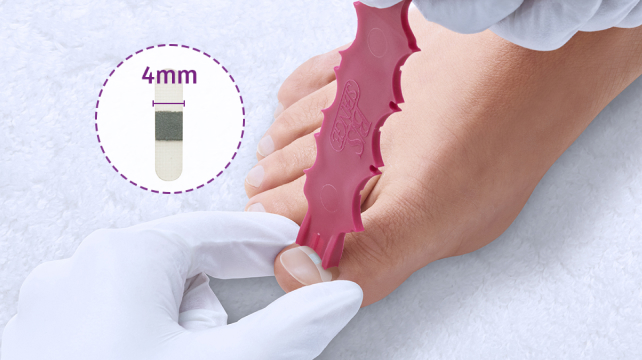
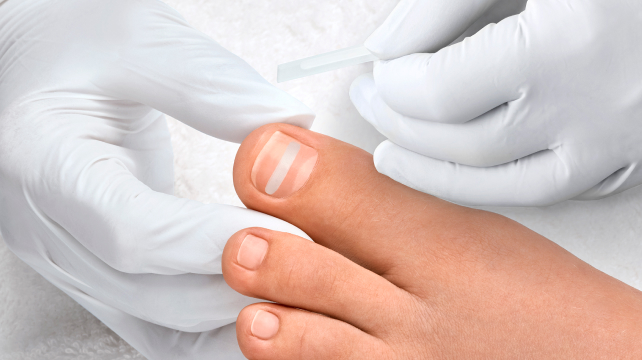
The same system components are required for each brace:
- B/S Adhesive (special adhesive)
- B/S Cleaner (cleaner for preparation and post-treatment)
- B/S Activator (fast-drying accelerator for the adhesive)
The application instruments differ depending on the system - from steel applicator via Multi-applicator up to the pre-assembled Quick solution.
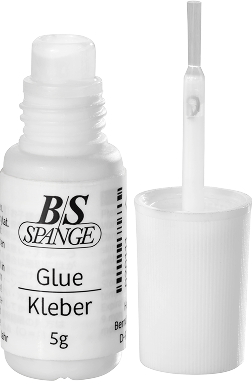
B/S Adhesive
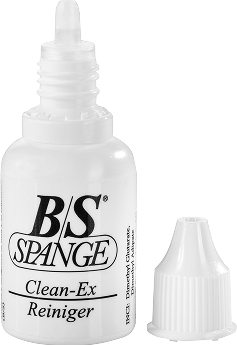
B/S Cleaner
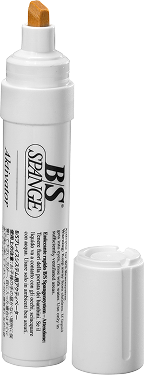
B/S Aktivator
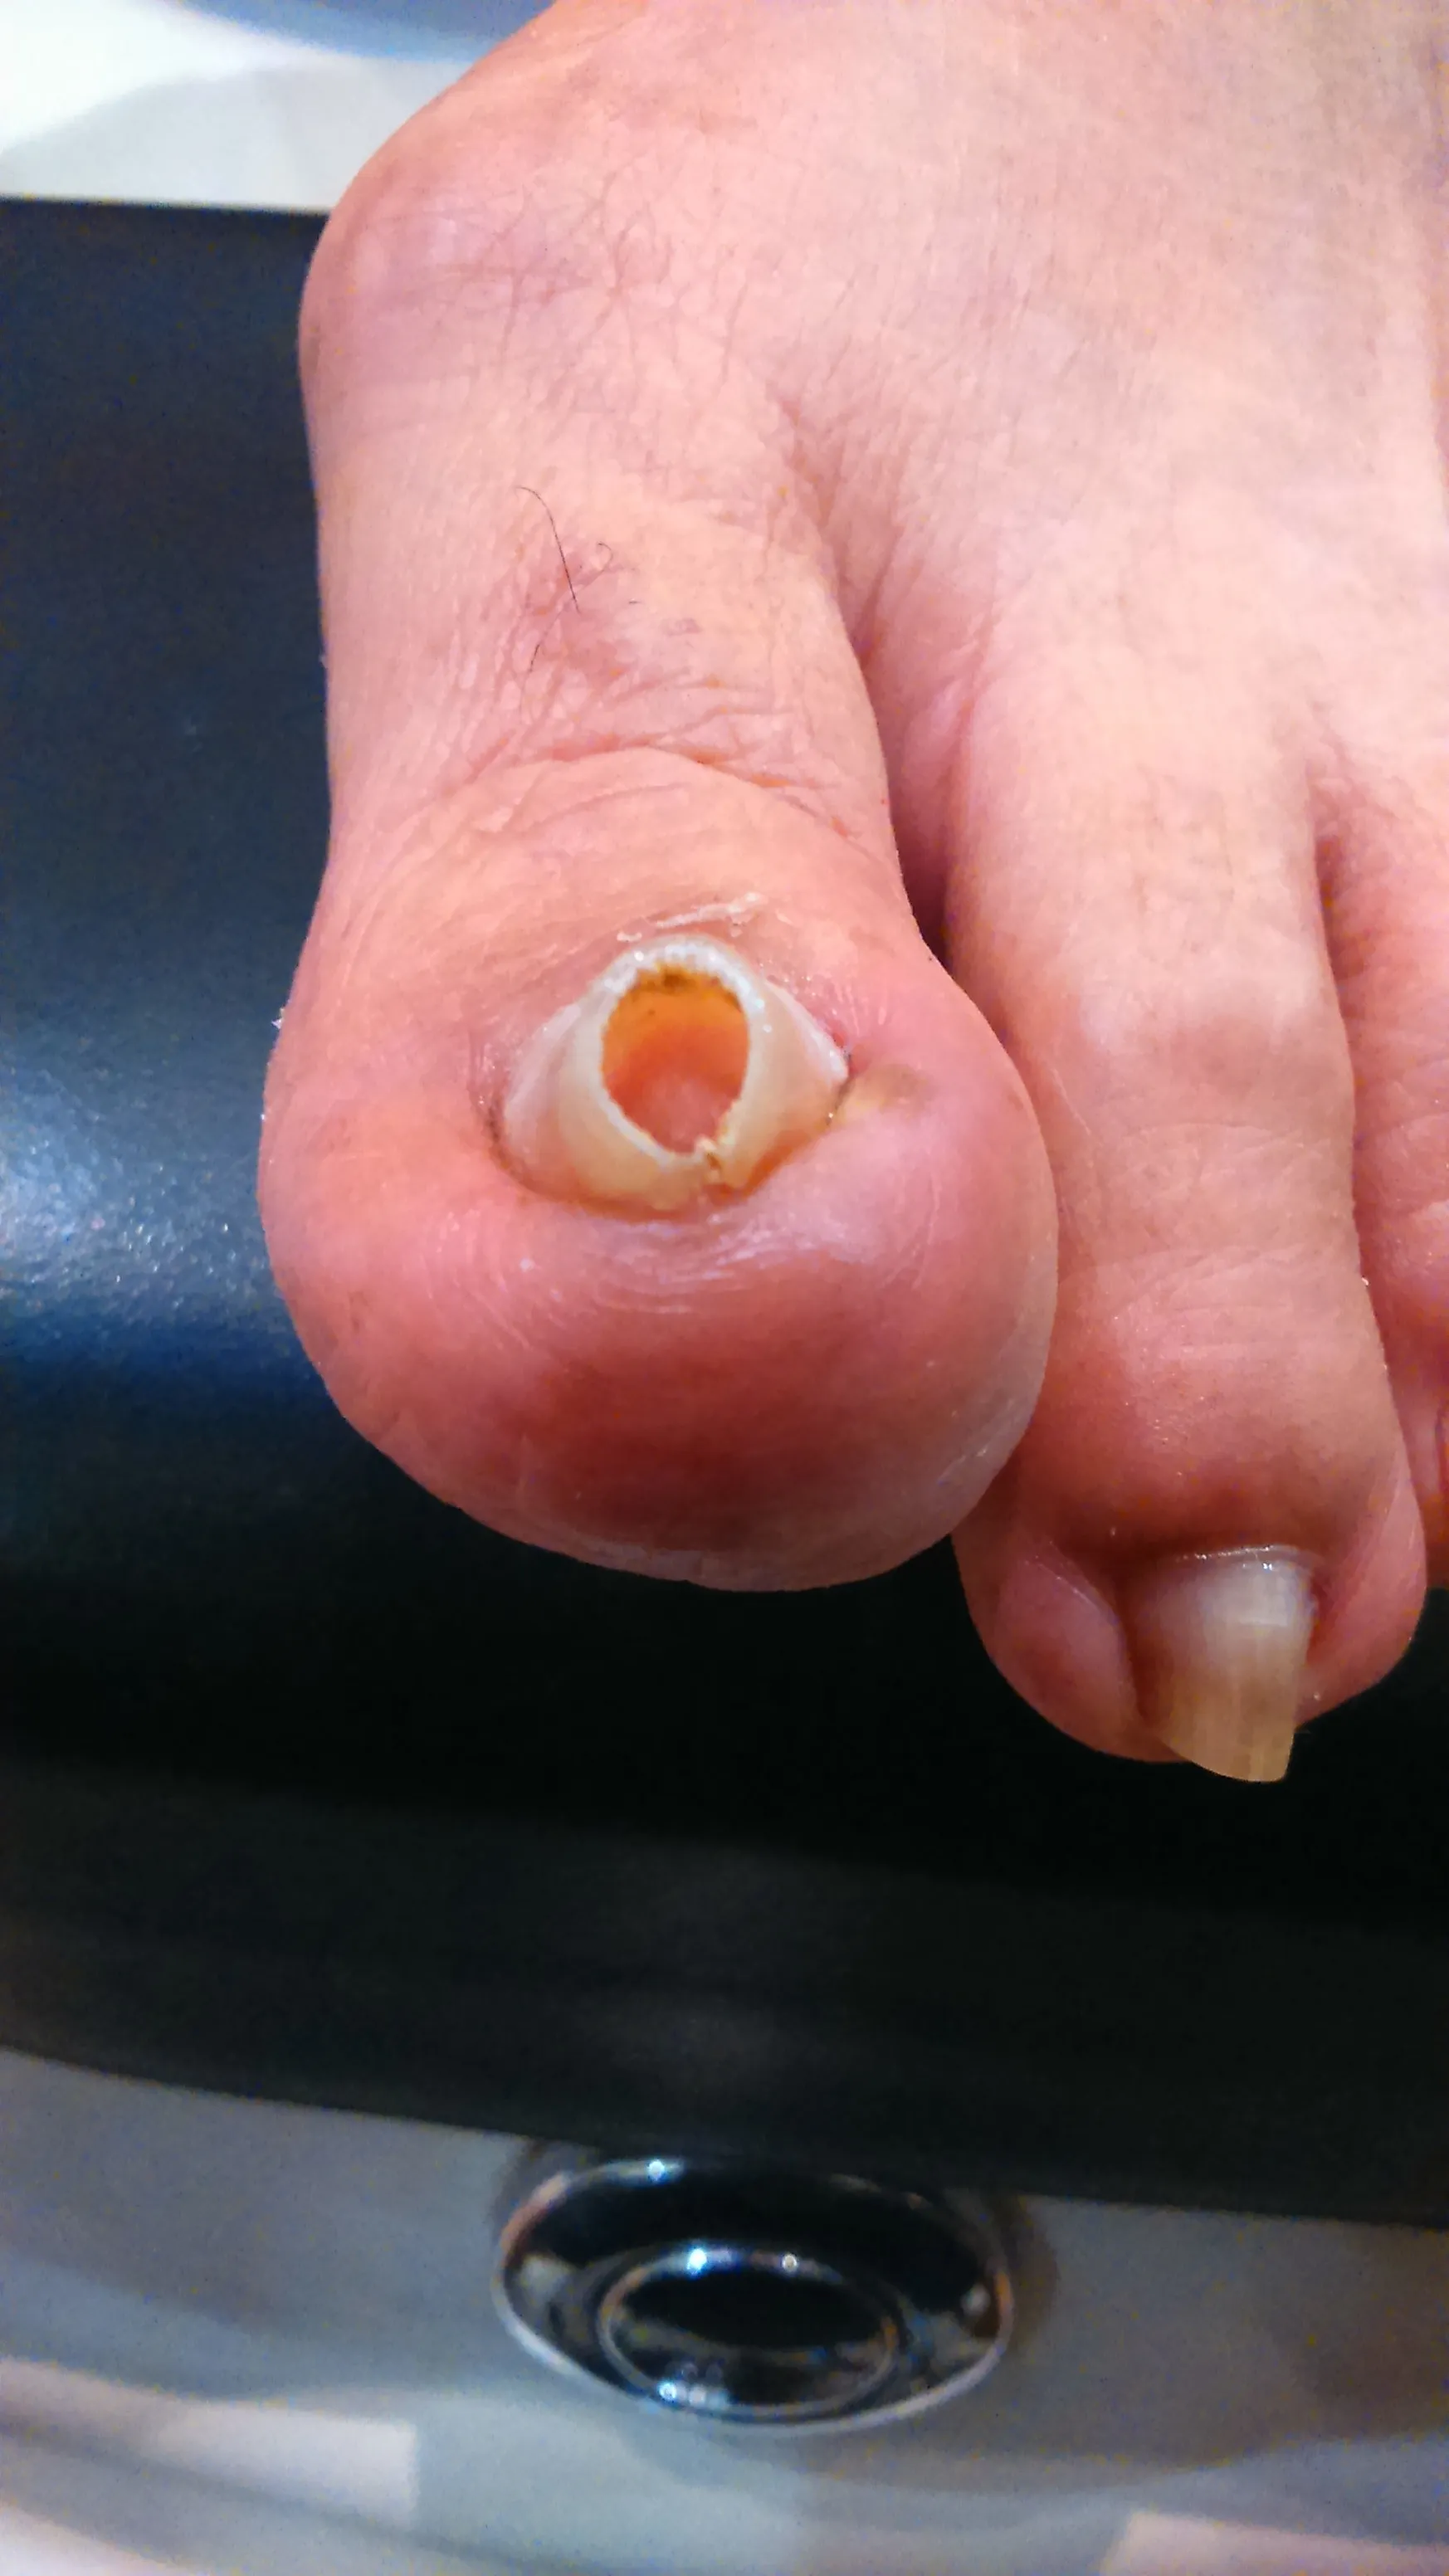
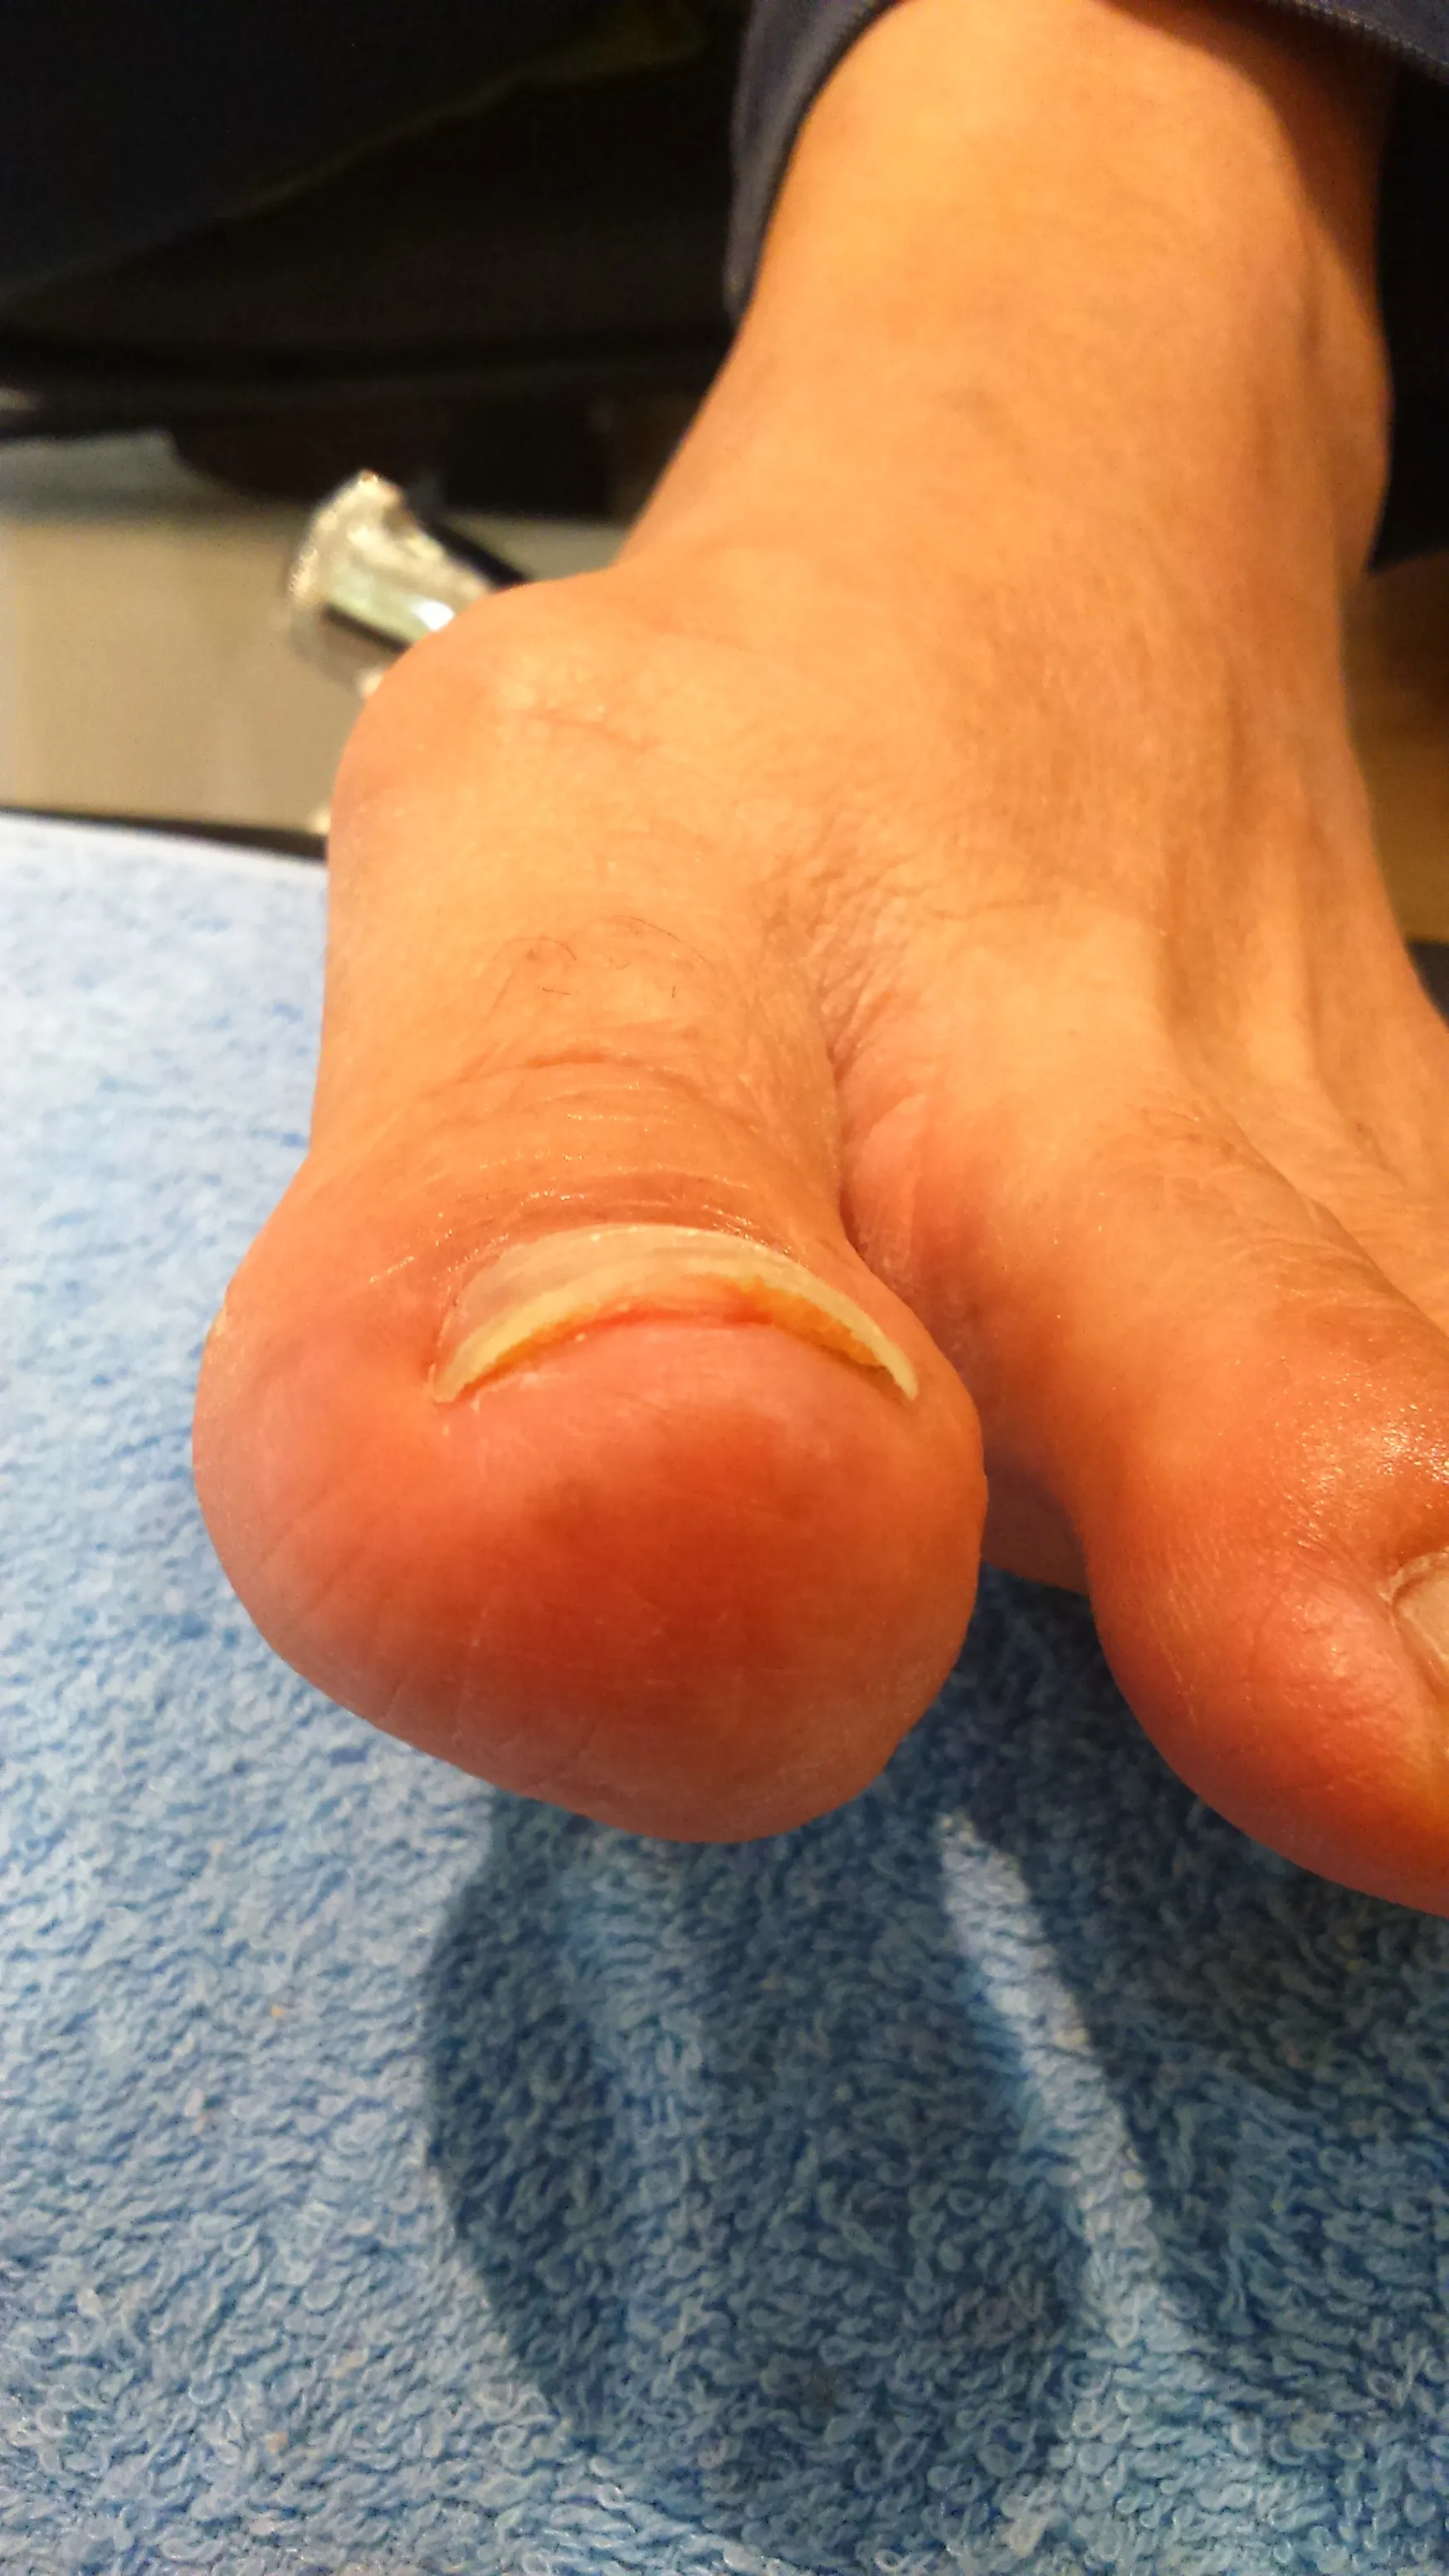
.webp)
.webp)
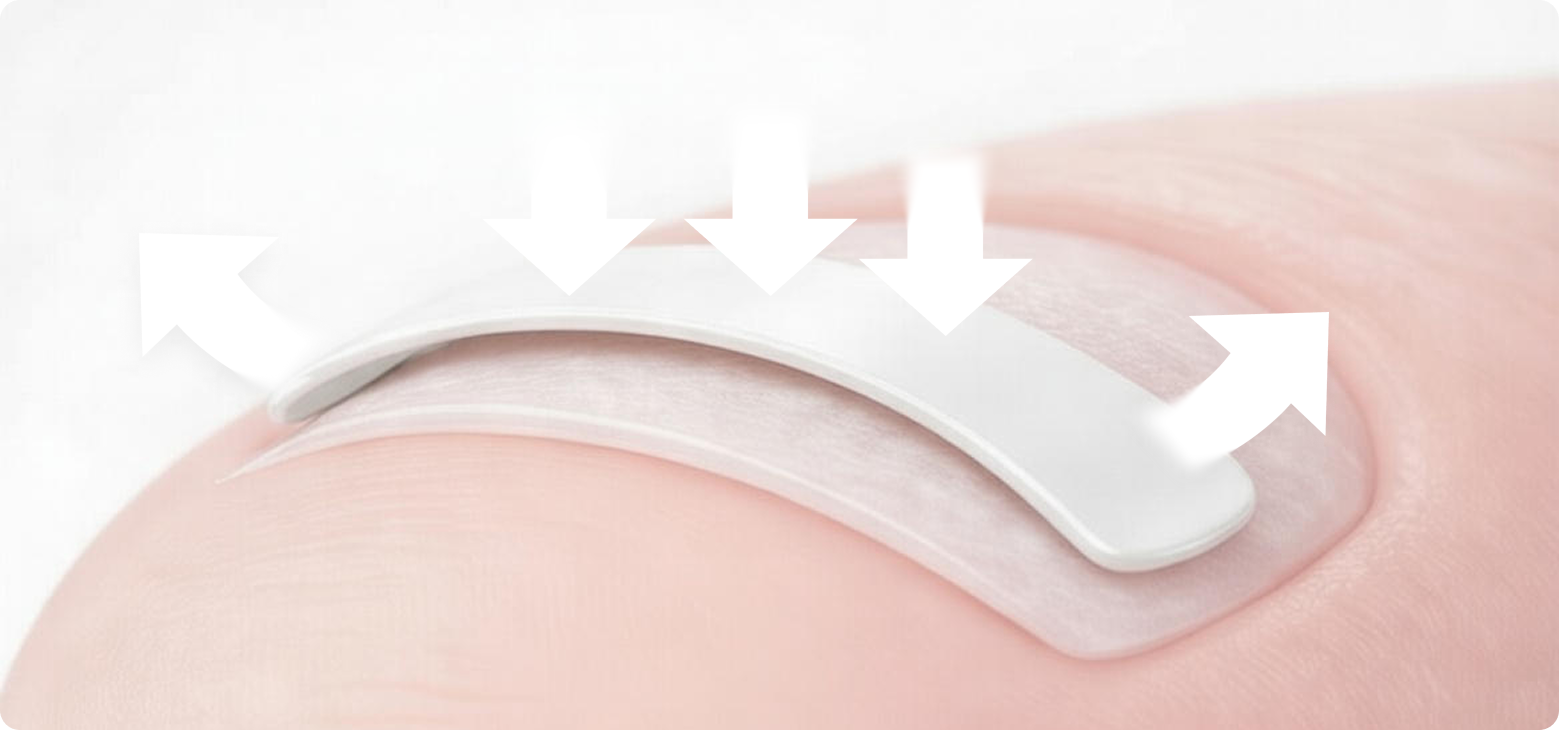
Wie funktioniert das B/S Spange Quick System?
B/S Spange Systems
B/S Spange Systems
B/S Spange Systems
B/S Spange Systems
B/S Spange Systems
B/S Spange Systems
B/S Spange Systems
B/S Spange Systems
B/S Spange Systems
B/S Spange Systems
B/S Spange Systems
B/S Spange Systems
.webp)
.webp)
B/S Spange
Quick Produkte
For over three decades, B/S Spange Quick products have been a proven and successful therapeutic concept.
.png)
.png)
.webp)
.webp)
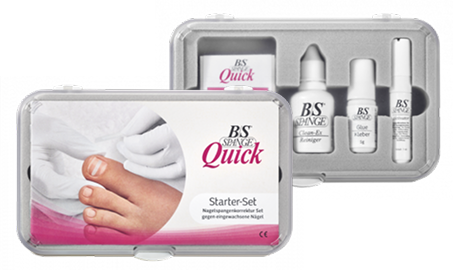
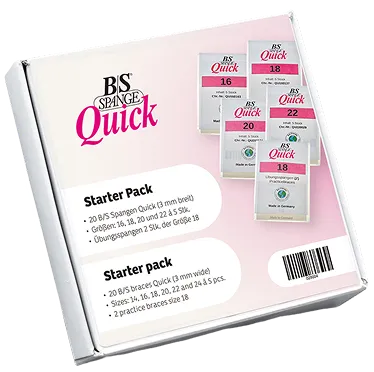
- 20 B/S Spange Quick (3 mm breit)
- Sizes: 16, 18, 20, and 22, 5 pieces each
- Practice braces, size 18, pack of 2
- 1 glue 5 g
- 1 cleaner 25 ml
- 1 activator pen 3 ml
- The QR code for the training videos can be found in the manual.
Quick Starter Set
to the product

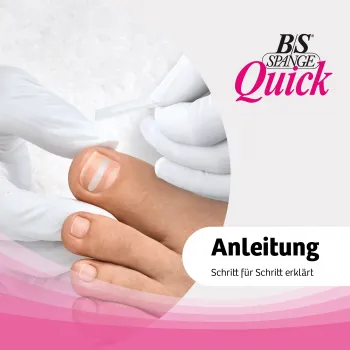
Quick System Instructions
to the product
.png)
- B/S Spange Quick (width: 3 mm)
- Size: 14 - 24 mm
- Contents: 1 pack contains 5 clips
Quick Spangen
to the product
.webp)
- 30 B/S Spange Quick (3mm wide)
- Sizes: 14, 16, 18, 20, 22, and 24, 5 pieces per pack
- 3 x practice braces, size 18
Quick Profi Pack
zum Produkt
.webp)
- 20 B/S Spange Quick(3mm wide)
- Sizes: 16, 18, 20, and 22, 5 pieces per pack
- 2 pcs. practice braces, size 18
Quick Starter Pack
zum Produkt
.webp)
- 30 BS Spangen Quick (3 mm breit)
- Größen: 14, 16, 18, 20, 22 und 24 à 5 Stücks befindet sich keine DVD mehr im Set)
- Übungsspangen 3 Stück der Größe 18
- 1 Kleber 5 g1 Reiniger 25 ml
- 1 Aktivator-Stift 31 Aktivator-Stift 3 ml ml
- QR-Code für Schulungsvideos auf der Umverpackung und in der Anleitung (es befindet sich keine DVD mehr im Set)
Quick Profi-Set
zum Produkt
1
2
3
4
5
6
6


Instructions – B/S Spange Quick Application
Before your treatment

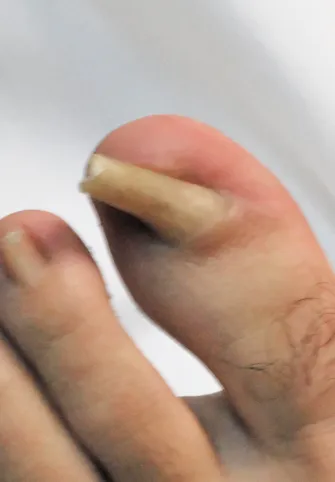
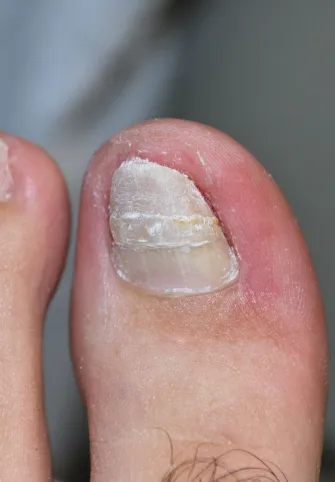
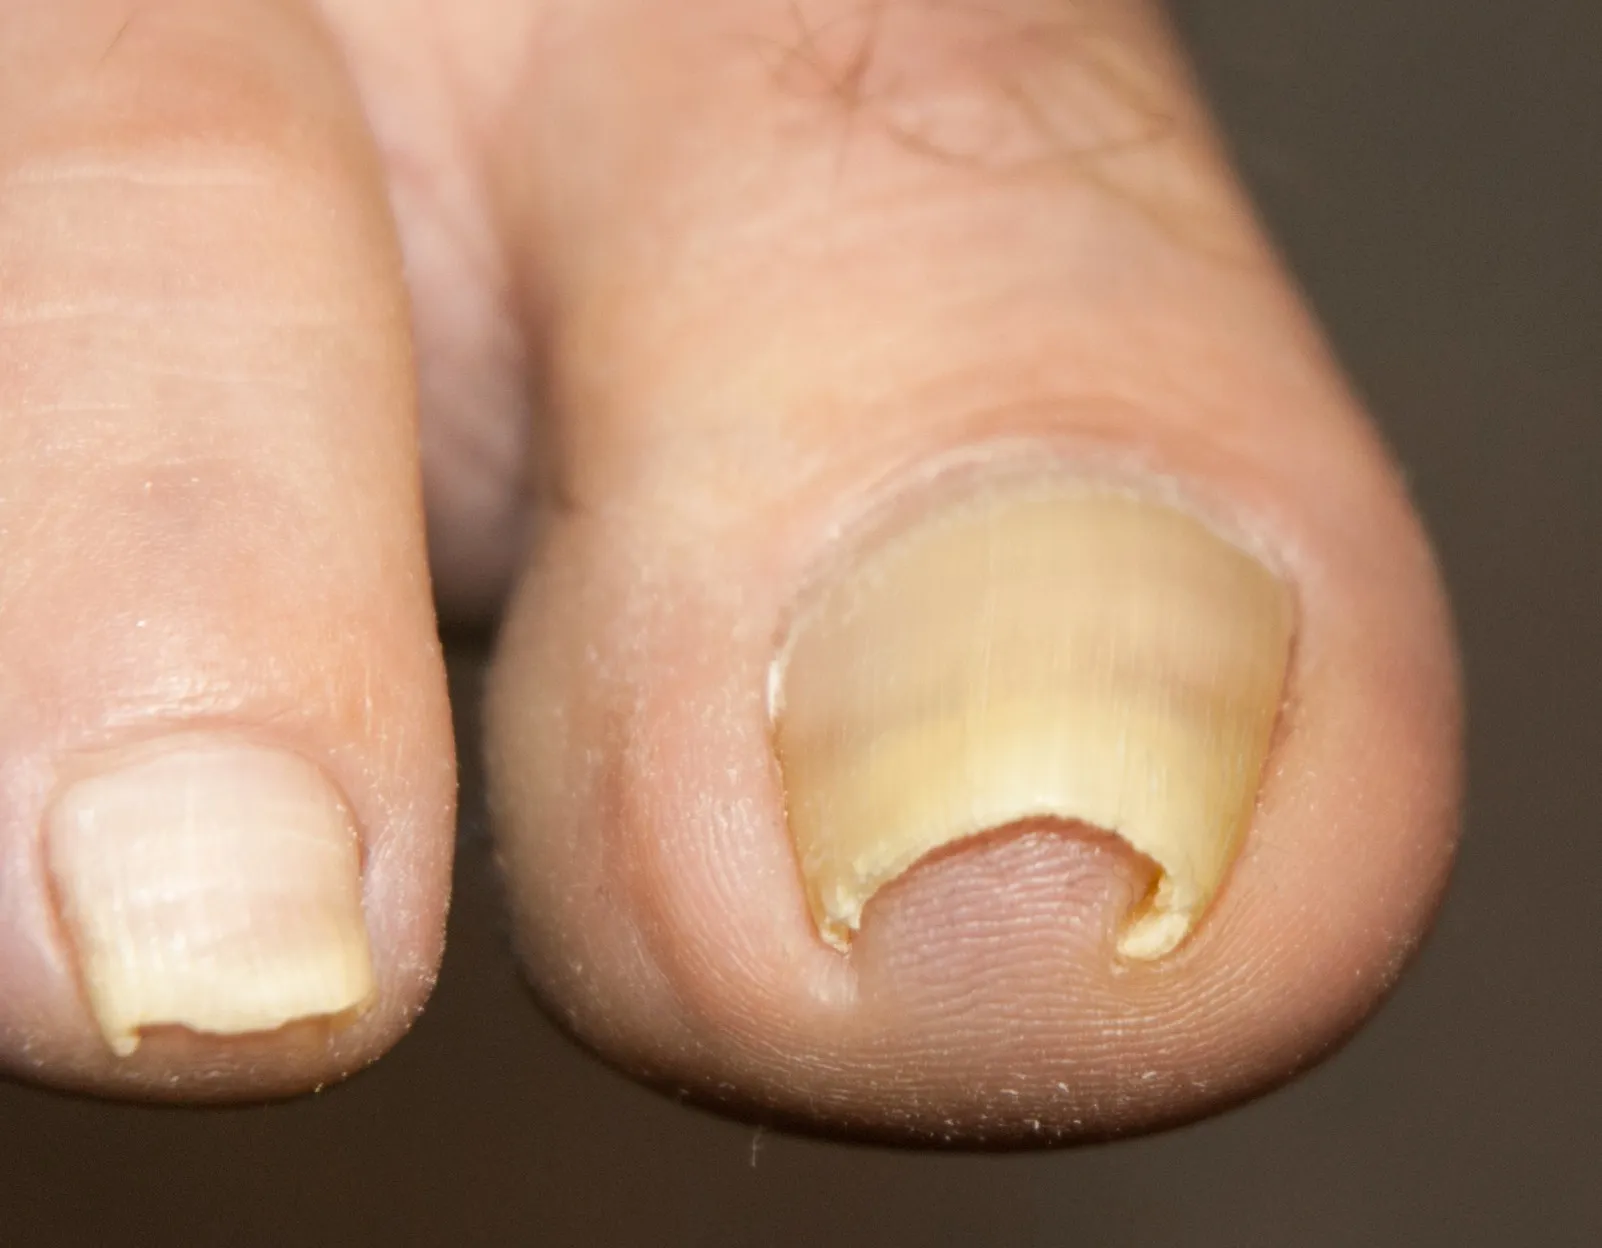
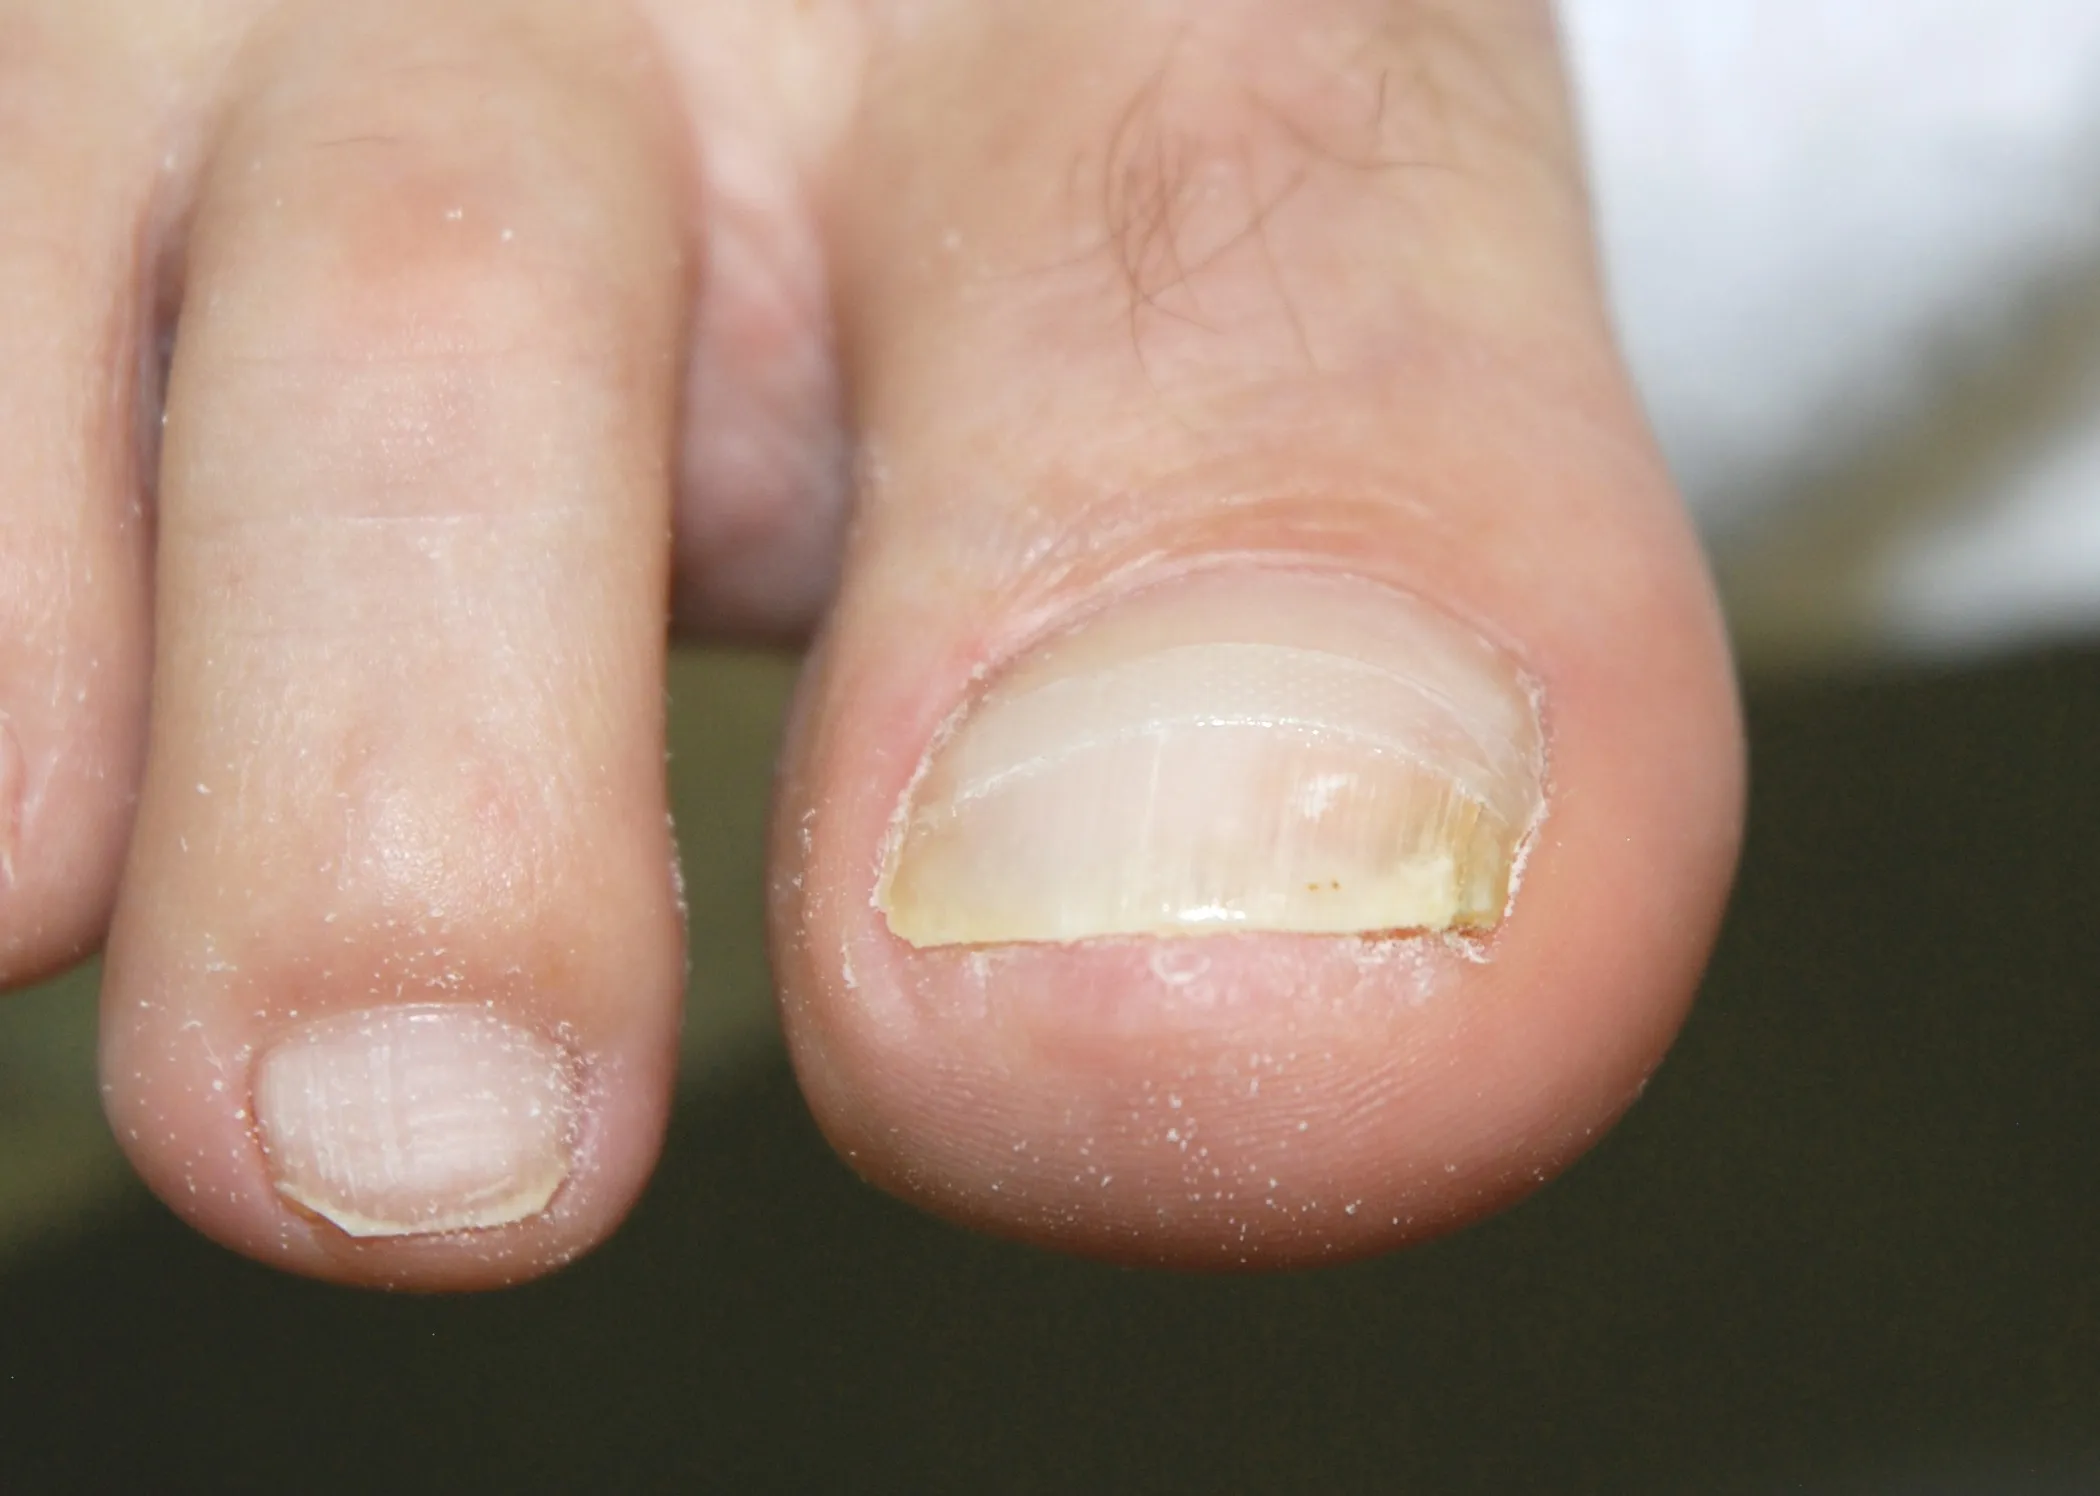
The B/S Spange must not be applied to diseased nails, such as fungal infections, psoriasis, onycholysis, etc.
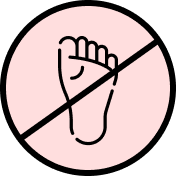
no foot baths
.png)
no disinfectants
.png)
no oiling or moisturizing
.png)
no nail polish remover (replenishing oils)
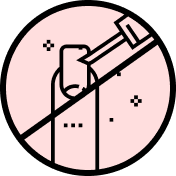
Switch off wet milling technology

The nail can be cleaned with 96 percent alcohol (ethanol).
Applying the brace to the nail requiring correction is a quick process that requires no special preparation. In professional terms, we refer to this as "application."
The B/S Spange is typically applied during a professional pedicure.
.webp)
.webp)
Application – Step by Step
Step 1.
Preparation
.png)
01
01
Prepare the nail
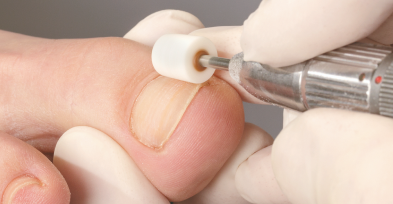
For the B/S Spange to be attached firmly and securely, it is essential to sand down and roughen the nail plate. Thick nails should be filed down to be thinner. The nail surface is roughened using a diamond or corundum burr.
02
02
Determine your buckle size
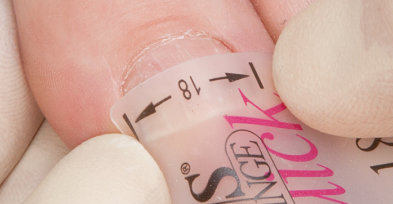
The B/S Spange should span the visible nail plate. There is a measuring template on the side of the carrier. Place this across the nail. You have the correct size when it aligns with the edge of the nail on both sides.
Placement
For optimal results, apply the B/S Spange 1–2 mm behind the area causing the pain.
03
03
Trim the backing film
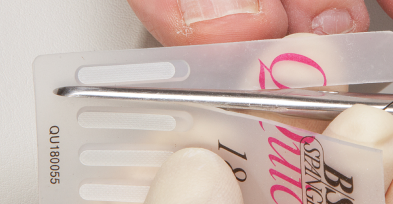
Use scissors to cut a B/S Spange of the previously determined size completely off. You will now have one short and one long handle tab.
Do not touch the B/S Spange and do not clean it. Always store the quick-applicator with the B/S Spange in the protective film and the bag.
Do not touch the B/S Spange and do not clean it. Always store the quick-applicator with the B/S Spange in the protective film and the bag.
04
04
Prepare B/S Spange
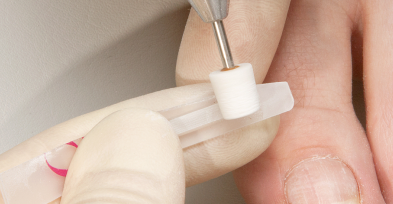
Thin the ends of the B/S Spange by approximately 2–4 mm on the rough side of the backing using a diamond or corundum bur. This makes it easier to press the ends onto the nail so they sit flush without lifting.
05
05
Degreasing
Once you have determined the correct B/S Spange size, degrease the entire nail surface using a drop of B/S cleaner on a swab. Then, dry the nail with the dry side of the swab.
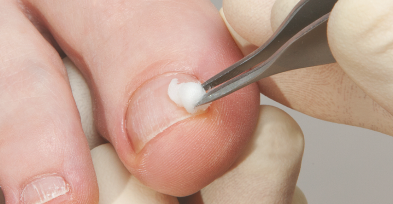
Step 2.
Installation
01
01
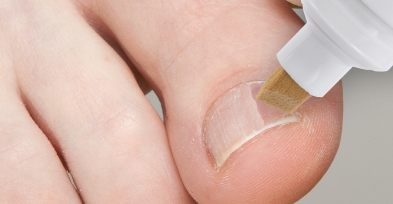
Apply B/S activator
Now, apply the B/S activator pen to the nail. The activator is necessary for the adhesive to set quickly and securely.
02
02
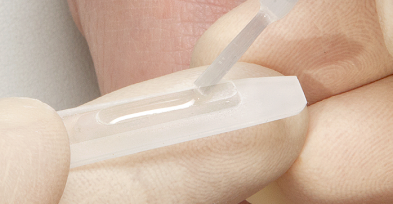
Apply B/S adhesive
Take the selected B/S Spange as shown and apply a small drop of B/S adhesive to the center.
Note:
This guide is based on the standard size 18. The larger the B/S Spange, the more adhesive is required.
Possible alternative:
Apply the adhesive directly to the nail and the activator to the brace.
03
03
The right fixation
Hold the long end of the applicator. Now, place the short end with the B/S Spange 1–2 millimeters behind the painful area on the lateral nail edge and press this side firmly onto the nail with your finger for approximately 5 seconds.
Our tip:
Stay calm! Try not to let your hand slip while applying pressure, and avoid working freehand. Brace yourself against the patient's foot.
04
04
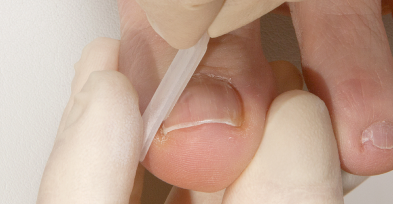
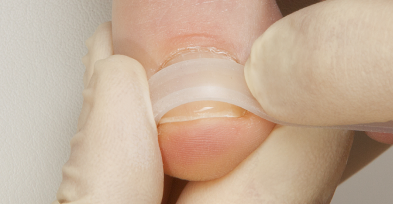
Proper application
Without lifting the short tab from the nail, use your right index finger to smooth the carrier with the B/S Spange across to the opposite nail fold and press it down for approximately 10 seconds. Do not pull on the long tab!
05
05
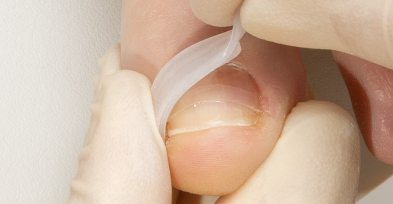
Removing the B/S carrier
Carefully peel off the backing film using the thickened edge. Any adhesive residue on the nail and the brace should be removed. The B/S adhesive must be completely dry before proceeding with the next steps.
Step 3.
Customization
01
01
Adjust pulling forces individually
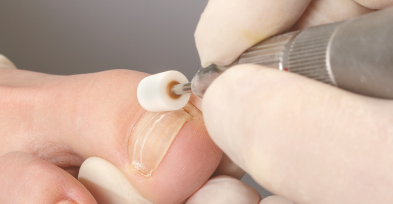
If your patient feels a pulling sensation or discomfort after the B/S Spange has been applied, the tension is too high. In this case, you should carefully thin out the applied B/S Spange at the ends or, if that is not sufficient, across the entire surface.
Your benefits:
The B/S Spange is corrected directly on the nail! The patient will feel the effect immediately. You can grind down any protruding brace ends that are less than 1 mm long.
Step 4.
Completion and Follow-up
01
01
Clean the nail with B/S cleaner
Please remove the activator before sealing. Apply a drop of B/S cleaner to a swab and wipe it over the nail plate. This removes the previously applied activator.
Attention:
The activator must not come into contact with the glue, as this will cause the glue to dry out.
02
03
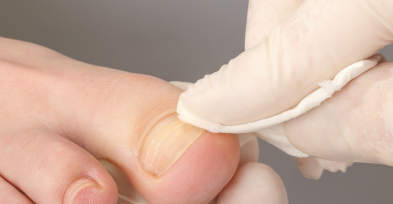
Sealing
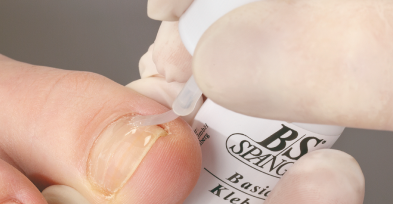
For an extra-strong, water-resistant bond, seal the nail and the already applied B/S brace using the B/S adhesive.
Apply the B/S adhesive quickly over the entire surface of the nail, just like nail polish.
Apply the B/S adhesive quickly over the entire surface of the nail, just like nail polish.
03
04
Follow-up care
Once the sealant has dried (approx. 5 minutes), you can proceed with standard nail care:
- Packing the nail fold
- Applying ointment dressings
- Polishing the nails
- Foot baths
- Applying creams and oils
- Packing the nail fold
- Applying ointment dressings
- Polishing the nails
- Foot baths
- Applying creams and oils
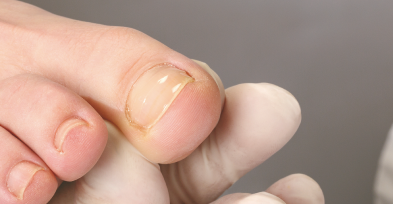

Removal of the B/S Spange (after 4–6 weeks) during follow-up treatments

01
01
Removing the B/S Spange
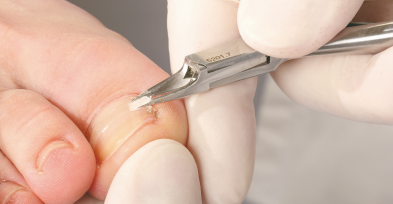
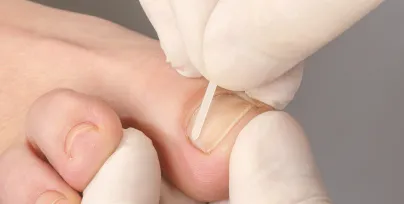
It is best to use straight nail nippers to remove the B/S Spange. To do this, position the nippers between the brace and the nail at one end. This allows you to easily break the bond and carefully lift the brace off the nail. Finally, the adhesive, which acts as a sealant, can be filed off the nail.
Important information beyond application
.png)

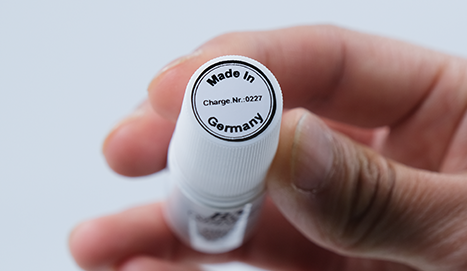
Batch Number & Expiry Date
The adhesive's batch number can be found on the lid and is the best-before date.
Example: Batch no. 1025 → Best before: October 2025
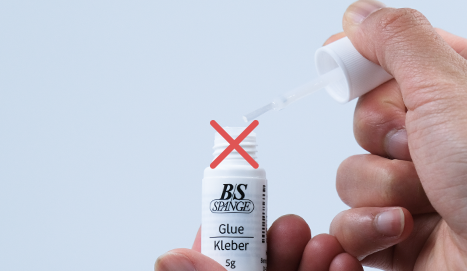
Handling the adhesive
Do not wipe the glue brush on the rim of the bottle neck.
Doing so will cause the cap to stick. This also ensures you have the perfect amount of glue.
Doing so will cause the cap to stick. This also ensures you have the perfect amount of glue.
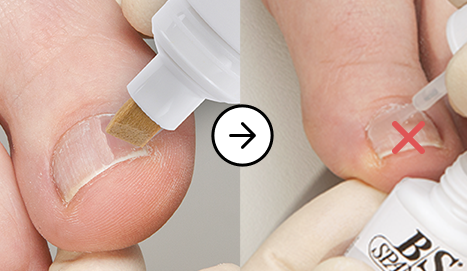
Adhesive & Activator
Glue and activator must not come into contact, as this will result in:
- The shelf life of the adhesive is reduced
- The glue is stringing.
- The contents of the bottle will harden.
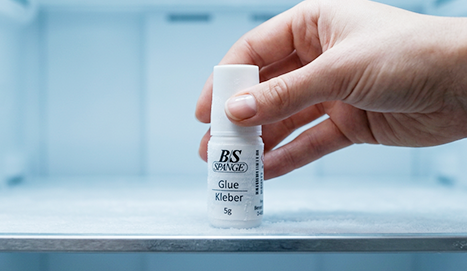
Freeze glue!
The shelf life of the adhesive is extended by the amount of time it spends in the freezer.
ATTENTION!
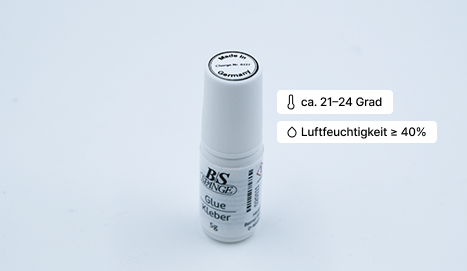
The adhesive must be applied at room temperature, approximately 21–24°C. Please also ensure that the B/S adhesive is applied at a humidity level of at least 40%, as it will not polymerize below this threshold.
Test activator
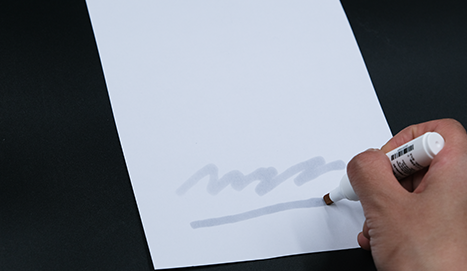
If the pen still releases ink when you glide it across a piece of paper, it is still working. Important: Always close the activator tightly!
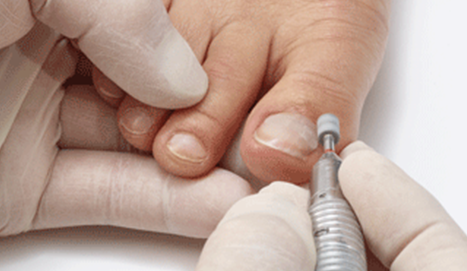
Draft too strong?
If the tension of the brace is too strong after bonding, simply use a bur to carefully thin out both ends of the brace. If necessary, grind the entire brace thinner.

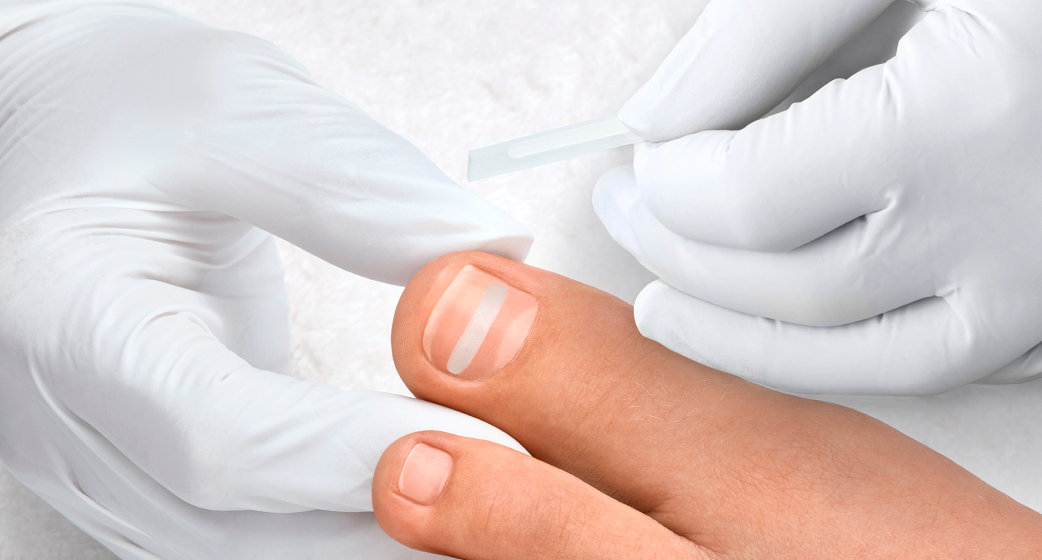
Training video - Application of the B/S Spange
.webp)
.webp)
.png)

.png)


